How to add Stripe subscriptions to your Next.js application

Stripe is known as the payment infrastructure of the internet. It powers payments for a lot of the popular websites that we use every day. Stripe is also known for its landing pages and has set the bar for its developer documentation. But implementing Stripe in a web application is not a trivial task. Stripe has a lot of features and sifting through all of that takes time.
In this article, I will cover how to set up subscriptions and accept payments with Stripe in a Next.js application. The setup explained here should work for the vast majority of SaaS applications. All the code shown below is available on Github.
Stripe Payments Lifecycle
Payments in Stripe go through multiple stages and there are different things that we have to handle during this lifecycle. I'll quickly go through each part of a complete cycle before we get into the code.
- Payment Intents - Payment Intent, like the name suggests, is the intent to pay. Stripe tracks the state of payment using the Payment Intent object.
- Customers - The customer object are people who buy the stuff you sell on your website. It stores information like name, email, saved payment methods are stored in the customer object.
- Subscriptions - The subscription object represents a customer's access to your product. It requires a customer object with a payment method to exist before creation.
- Invoices - Invoices are generated before a customer is charged for a subscription or payment.
- Products - Products represent what you're selling on your website. In a SaaS application, a product is a subscription tier or "plan".
- Prices - Stripe allows adding multiple prices to a single object. This is useful for setting different prices for monthly and annual subscriptions.
Adding products and prices on Stripe Dashboard
Adding products and prices is quite easy on the Stripe Dashboard:
Select Product from the navigation:

Create the required products and prices:

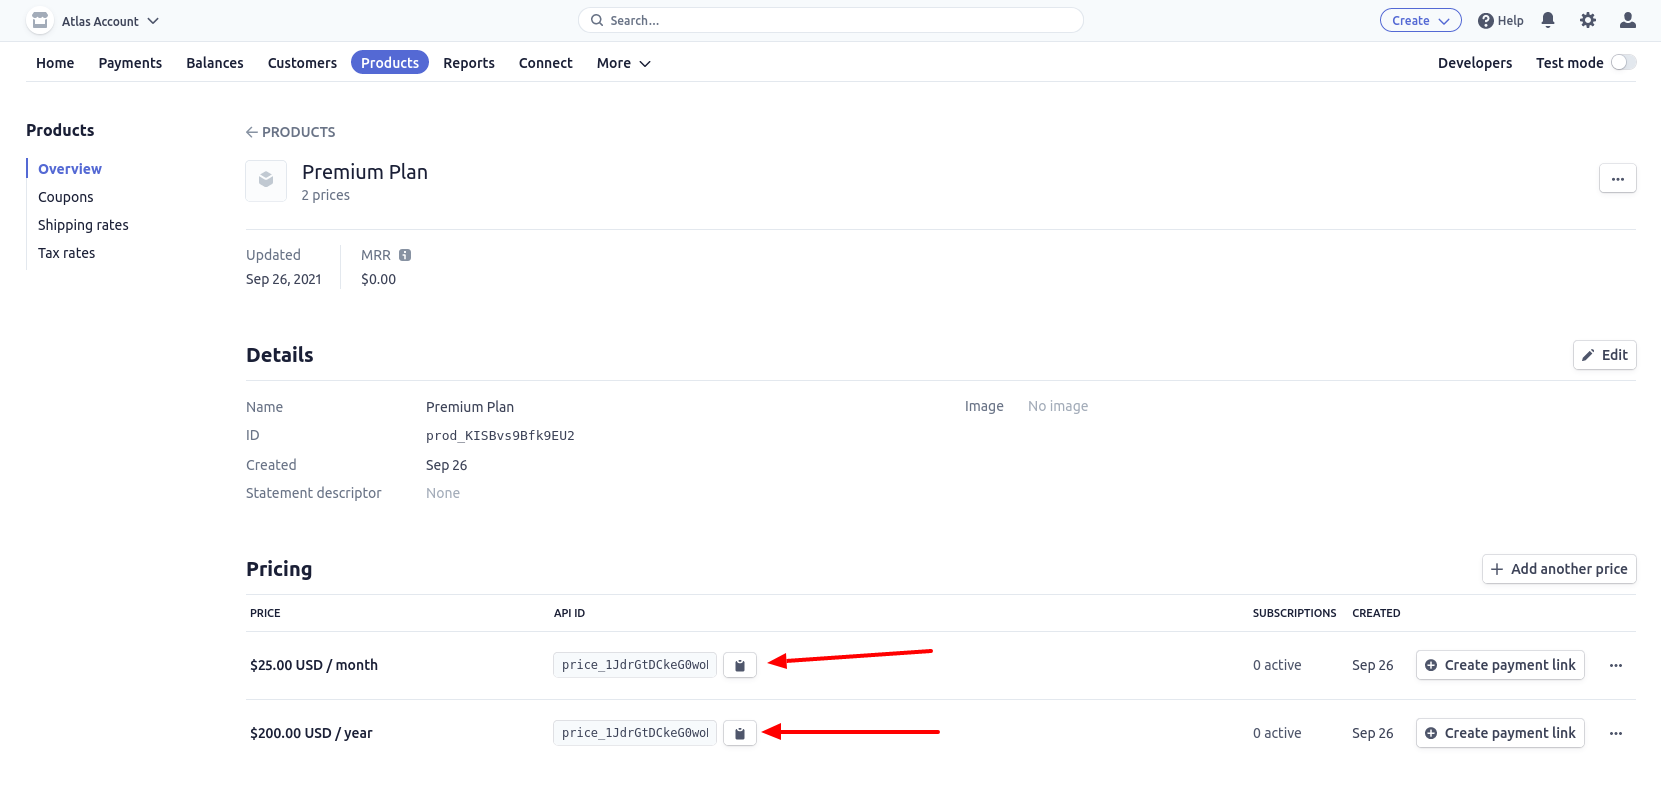
After the product is created, you can access the price IDs here:
Adding the required Stripe libraries
We'll add three libraries to our Next.js application.
npm install stripe @stripe/stripe-js @stripe/react-stripe-js
# or
yarn add stripe @stripe/stripe-js @stripe/react-stripe-js
Adding the required API endpoints
We need at least three endpoints — creating a customer, creating a subscription, and canceling a subscription. Subscriptions in Stripe automatically create Invoice and Payment Intent objects so we don't need specific endpoints for them. Before we start using these endpoints, however, we need to create Product(s) and Price(s) through the Stripe Dashboard.
Create a customer:
Let's create a file called customer.ts in the pages/api directory:
import { NextApiRequest, NextApiResponse } from 'next';
import nc from 'next-connect';
import Stripe from 'stripe';

const createCustomer = async (req: NextApiRequest, res: NextApiResponse) => {
    try {
        const stripe = new Stripe(process.env.STRIPE_SECRET_KEY, { apiVersion: '2020-08-27' });
        const { email, name } = req.body;

        const customer = await stripe.customers.create({
            email,
            name,
        });

        // Optional but recommended
        // Save the customer object or ID to your database

        res.status(200).json({
            code: 'customer_created',
            customer,
        });
    } catch (e) {
        console.error(e);
        res.status(400).json({
            code: 'customer_creation_failed',
            error: e,
        });
    }
};

const handler = nc({ attachParams: true }).post(createCustomer);

export default handler;
Create a subscription:
Let's create a file under pages/api called subscribe.ts:
import { NextApiRequest, NextApiResponse } from 'next';
import nc from 'next-connect';
import Stripe from 'stripe';

const createSubscription = async (req: NextApiRequest, res: NextApiResponse) => {
    try {
        const stripe = new Stripe(process.env.STRIPE_SECRET_KEY, { apiVersion: '2020-08-27' });
        const { customerId, priceId } = req.body;

        const subscription = await stripe.subscriptions.create({
            customer: customer.id,
            items: [{ price: priceId }],
            payment_behavior: 'default_incomplete',
            metadata: {
                // You can save details about your user here
                // Or any other metadata that you would want as reference.
            },
            expand: ['latest_invoice.payment_intent'],
        });

        // Optional but recommended
        // Save the subscription object or ID to your database

        // Send the subscription ID and a client secret that the
        // Stripe subscription API creates. The subscription ID
        // and client secret will be used to
        // complete the payment on the frontend later.
        res.status(200).json({
            code: 'subscription_created',
            subscriptionId: subscription.id,
            clientSecret:
                subscription.latest_invoice.payment_intent.client_secret,
        });
    } catch (e) {
        console.error(e);
        res.status(400).json({
            code: 'subscription_creation_failed',
            error: e,
        });
    }
};

const handler = nc({ attachParams: true }).post(createSubscription);

export default handler;
Cancel Subscription:
Let's create another function subscribe.ts called cancelSubscription:
...

const cancelSubscription = async (req: NextApiRequest, res: NextApiResponse) => {
    try {
        const stripe = new Stripe(process.env.STRIPE_SECRET_KEY, { apiVersion: '2020-08-27' });
        const { subscriptionId } = req.body;

        const deletedSubscription = await stripe.subscriptions.del(
            subscriptionId
        );

        res.status(200).json({
            code: 'subscription_deleted',
            deletedSubscription,
        });
    } catch (e) {
        console.error(e);
        res.status(400).json({
            code: 'subscription_deletion_failed',
            error: e,
        });
    }
};

const handler = nc({ attachParams: true })
    .post(createSubscription)
    .delete(cancelSubscription);
Now that we have created the endpoints, we can now focus on the webhook. Webhook is an important part of the payment lifecycle and you SHOULD NOT skip this. Using the webhook, Stripe can inform us of the different changes in the payment process and let us do appropriate actions. Here are some examples of what you could do with Stripe Webhooks:
- Handle payment failures
- Handling payments that require additional actions
- Provisioning access in your application
- Detecting changes in subscription
Let's create our webhook endpoint by creating a file called pages/api/webhooks/stripe.ts:
import { NextApiRequest, NextApiResponse } from 'next';
import nc from 'next-connect';
import Stripe from 'stripe';
const stripe = new Stripe(process.env.STRIPE_SECRET_KEY, { apiVersion: '2020-08-27' });

const handleStripeWebhook = async (req: NextApiRequest, res: NextApiResponse) => {
    try {
        const event = stripe.webhooks.constructEvent(
            req.body,
            req.headers['stripe-signature'],
            process.env.STRIPE_WEBHOOK_SECRET
        );
    } catch (e) {
        console.error(e);
        res.send(400);
    }

    switch (event.type) {
        case 'subscription.created': {
            const subscription = event.data.object;
            // You can use this to detect changes in the subscription
            // subscription.status will return the current status of the subscription
            //
            // Things you can do here:
            // 1. Send a thank you email to the user
            // 2. Send content you've created that would enhance the user's experience/workflow
            break;
        }

        case 'customer.subscription.deleted':
        case 'customer.subscription.updated': {
            const subscription = event.data.object;
            // You can use this to detect changes in the subscription
            // subscription.status will return the current status of the subscription
            //
            // Things you can do here:
            // 1. Send an email to the user notifying them about the change in subscription status
            // 2. If the user cancelled the subscription you could trigger
            // a email campaign to inform users of the beneits they're missing out on.
            break;
        }

        case 'invoice.paid': {
            const invoice = event.data.object;
            // If you have trials, this event is triggered when the trial ended and the user was charged for continued access
            // Things you can do:
            // 1. Notify the user of the charge
            // 2. Thank them for their continued belief in your product
            // 3. Send additional content that could enable better workflows for the user
            break;
        }

        case 'invoice.payment_failed': {
            const invoice = event.data.object;
            // The payment fails or the user does not have a valid payment method
            // The subscription is now past due
            // You can notify the user that the payment has failed
            // and ask them to use different payment methods
            // or revoke their access
            break;
        }

        default: {
            console.error(`Unhandled event type: ${event.type}`);
            break;
        }
    }

    res.status(200);
};

const handler = nc({ attachParams: true }).post(handleStripeWebhook);

export default handler;
Testing Webhooks:
Stripe also provides an easy way to test webhooks locally using the Stripe CLI. Once installed and authenticated, you can register your webhook endpoint by executing:
stripe listen -f https://localhost:3000/api/webhooks/stripe
Stripe will now push payment-related events to your local machine which your webhook endpoint can now process.
Stripe on the frontend:
Now that we've set up Stripe on the backend, let's build out the frontend. Stripe's React package is a wrapper around Stripe Elements. Elements is a set of pre-built UI components that tokenizes sensitive information. It also formats card information and the style can be customized to match your style guides.
Stripe's React library exposes an Element provider that you can wrap around components where you need Stripe. You could also wrap your root component with the Element provider but I've found that it's not necessary for our use case. Let's create a wrapper component for a typical checkout form:
// CheckoutForm.tsx

import { useState } from 'react';
import { CardElement, Elements, useStripe, useElements } from '@stripe/react-stripe-js';
import { loadStripe } from '@stripe/stripe-js';

const stripePromise = loadStripe(
    process.env.NEXT_PUBLIC_STRIPE_PUBLISHABLE_KEY
);

interface CheckoutFormProps {
    customerId: string;
    priceId: string;
}

export default function CheckoutForm(props: CheckoutFormProps): JSX.Element {
    const [error, setError] = useState(undefined);
    const [disabled, setDisabled] = useState(false);
    const stripe = useStripe();
    const elements = useElements();

    function handleCardInputChange(event) {
        // Listen for changes in card input
        // and display errors, if any, to the user
        // Also control the disabled state of the submit button
        // if the input field is empty
        setDisabled(event?.empty);
        setError(event?.error?.message ?? '');
    }

    async function handleCheckoutFormSubmit(event) {
        event.preventDefault();

        if (!stripe || !elements) {
            // Stripe.js has not loaded yet.
            return;
        }

        // Call the subscribe endpoint and create a Stripe subscription
        // object. Returns the subscription ID and client secret
        const subscriptionResponse = await fetch(
            '/api/subscribe',
            {
                method: 'POST',
                headers: { 'Content-Type': 'application/json' },
                body: JSON.stringify({ customerId: props.customerId, priceId: props.priceId })
            }
        )
        const subscription = await subscriptionResponse.json();
        const stripePayload = await stripe.confirmCardPayment(
            subscription.clientSecret, // returned by subscribe endpoint
            {
                payment_method: {
                    card: elements.getElement(CardElement)
                }
            }
        )

        if (stripePayload.error) {
            setError(stripePayload.error.message);
        }
    }

    return (
        <Elements stripe={stripePromise}>
            <form onSubmit={handleCheckoutFormSubmit}>
                <CardElement onChange={handleCardInputChange} />
                <button
                    disabled={!stripe && disabled}
                    type='submit'
                >
                    Pay Now
                </button>
            </form>
        </Elements>
    );
}
Now, let's use the checkout form on our pricing page. For convenience, I'm using Chakra UI components but you can use anything to achieve the same results. When a user clicks on the "Subscribe Now" button, we save the price ID to the component state and call the create customer endpoint. Once the customer is created, we show the CheckoutForm component, that we previously created, in a modal.
// pricing.tsx

import { useState } from 'react';
import { Button, Modal, ModalBody, ModalCloseButton, ModalContent, ModalOverlay, Spinner, useDisclosure } from '@chakra-ui/react';
import CheckoutForm from "../components/CheckoutForm";

function PricingPage(): JSX.Element {
    const { isOpen, onOpen, onClose } = useDisclosure();
    const [priceId, setPriceId] = useState('');
    const [customer, setCustomer] = useState(undefined);

    // You can get the price ID from the Stripe Dashboard
    async function handleSubscribeClick(priceId) {
        setPriceId(priceId);

        // Call the create customer endpoint with the name and email
        // of the authenticated user.
        // If the user is not authenticated, you can ask them for
        // the details before calling this endpoint.
        const customerResponse = await await fetch(
            '/api/customer',
            {
                method: 'POST',
                headers: { 'Content-Type': 'application/json' },
                body: JSON.stringify({ email, name })
            }
        );
        const customer = await customerResponse.json();
        setCustomer(customer);
    }

    return (
        <>
            <Button onClick={() => handleSubscribeClick('price_abc123')}>Subscribe Now</Button>
            <Modal isOpen={isOpen} onClose={onClose}>
                <ModalOverlay />
                <ModalContent>
                    <ModalCloseButton />
                    <ModalBody>
                        {
                            customer ?
                                <CheckoutForm customerId={customer.id} priceId={priceId} /> :
                                <Spinner />
                        }
                    </ModalBody>
                </ModalContent>
            </Modal>
        </>
    )
}
And that is it! You can now charge your users a subscription fee for access to your product. I hope this was helpful. Even if you don't use Next.js, you can still use this code with React.js and Node.js. All the code shown in this article is available on Github.


